In this series of posts, I will demonstrate the steps to deploy Local Administrator Password Solution(LAPS) by SCCM. This is the second post covered the deployment procedure in SCCM. You can also check the other posts by the below links:
Create Task Sequence
You can deploy the package directly to device collections. However, SCCM will show errors even the deployment is successful. This is because that the package deployment does not recognize the exit code. Therefore, we will use task sequence to deploy the package. It will give us more flexibility for the deployment.

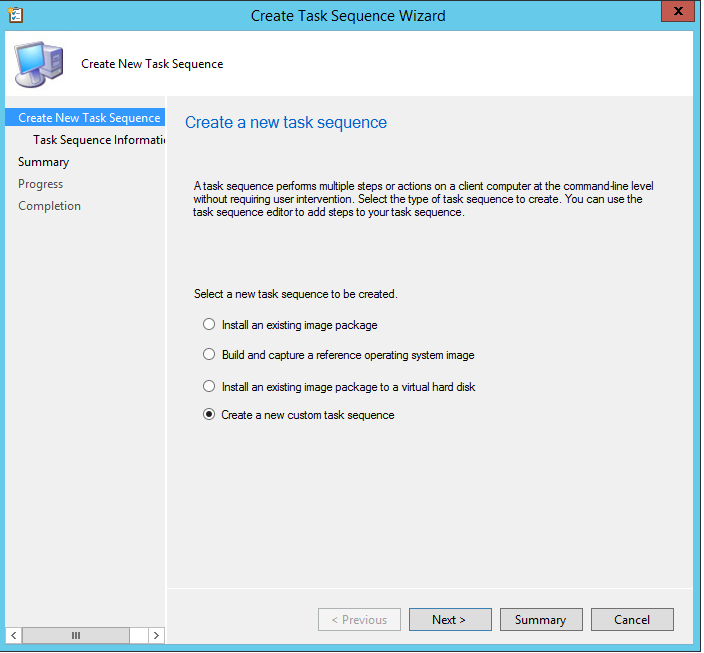
- Create a new custom task sequence
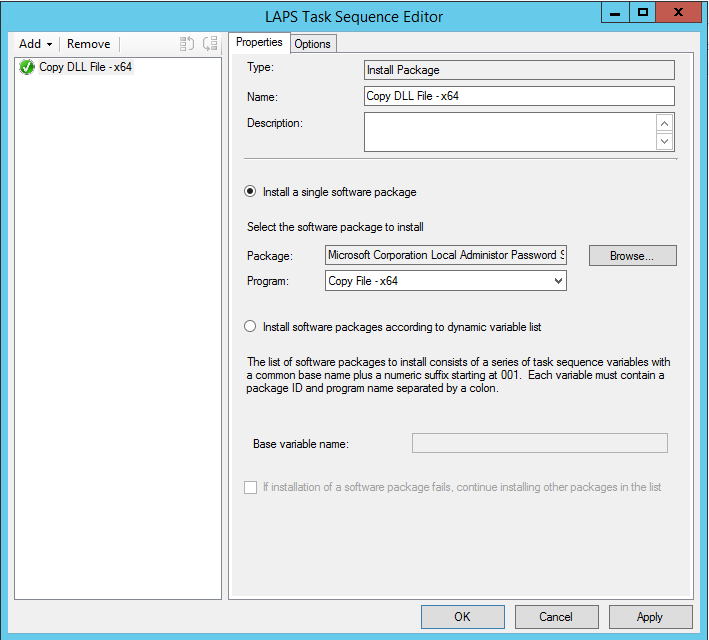
- In the Task Sequence Editor, create a Install Package task

- On the Properties, browse the LAPS package that we created before and select the Copy File program
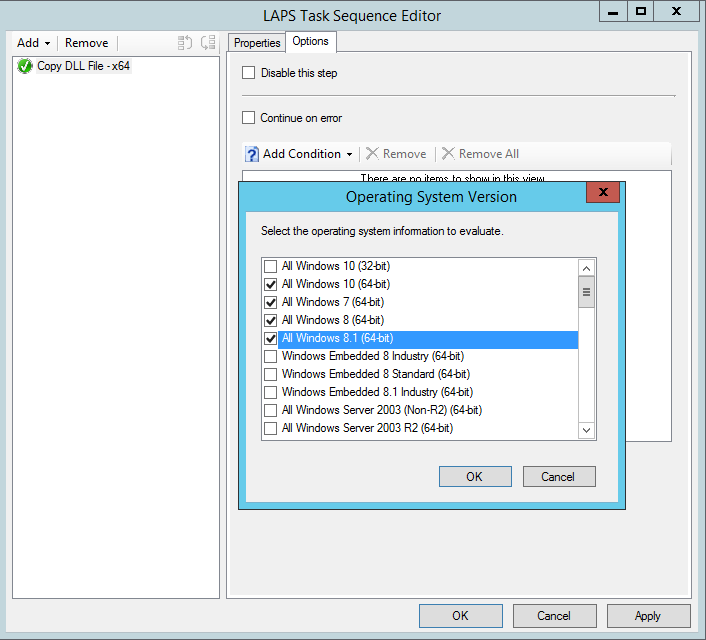
- On the Options, add condition for Operating System Version. Select all 64-bit operating systems as needed. Repeat the same procedure for x86 version.
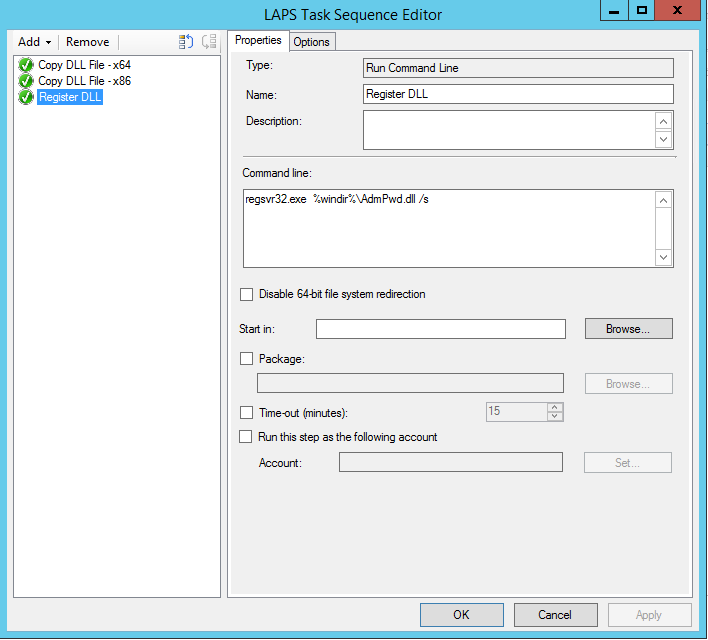
- Add a Run Command Line task
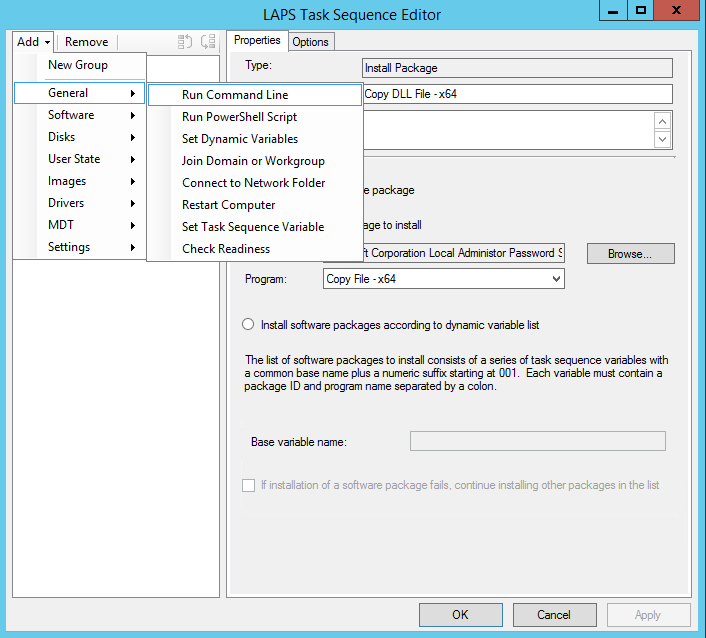
- In the Command line area, copy the below command to it. This command will register the DLL silently. You should have three tasks in the Task Sequence. Click OK to complete. You can deploy the Task Sequence to device collections now.
regsvr32.exe %windir%\AdmPwd.dll /s
Deploy Task Sequence
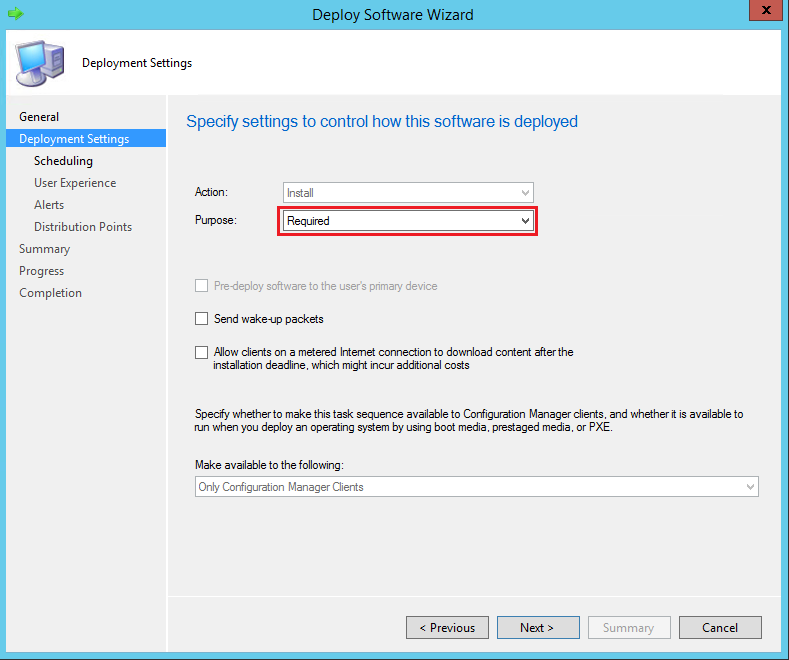
We have to make sure that the LAPS will be installed silently into client computers. Here are some configurations we may need in the deployment.
- In Deploy Software Wizard, select Required
- In User Experience, uncheck Show Task Sequence progress. We don`t want to interrupt users.

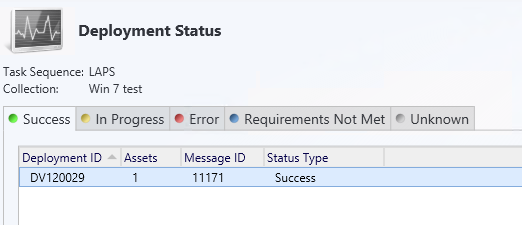
Verify the deployment
- You can see the result and progress on the Monitoring of SCCM console
- To verify it really works, check the file in the local machine
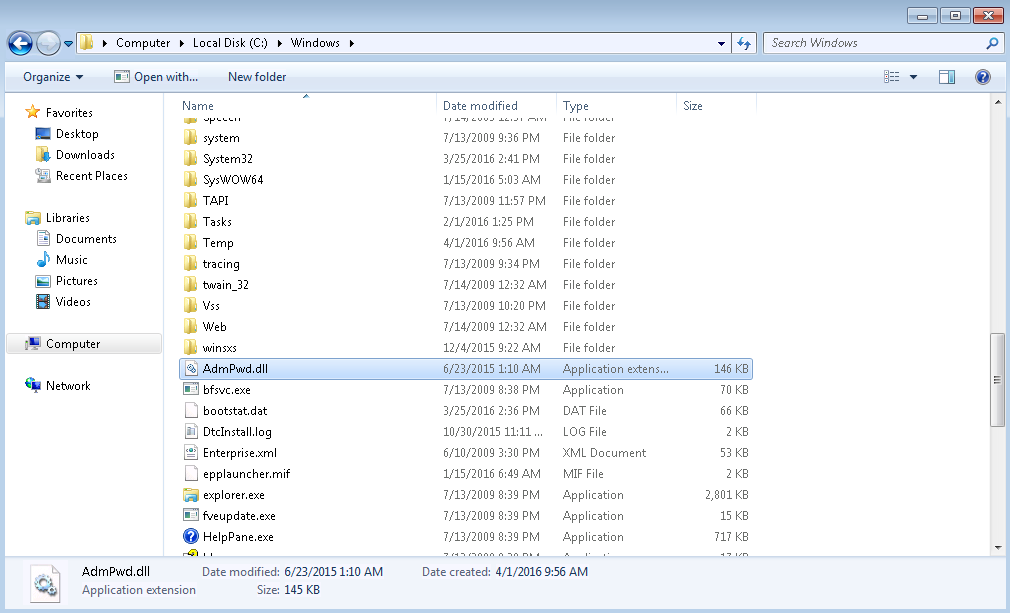
At this point, the client computer should be ready for the LAPS. Besides, there are still some works need to be done such as extend Schema, machine permissions, and Group Policy. We will discuss them in the next post.