The goal of this post is to create a sha2 TLS certificate for SMTP. Create a Domain Certificate with Sha2 in the template will work. However, if you don`t have a CA in your domain, a self-signed certificate will be a good choice for testing.
The self-signed certificate created by IIS Manager will work but it will be Sha1.
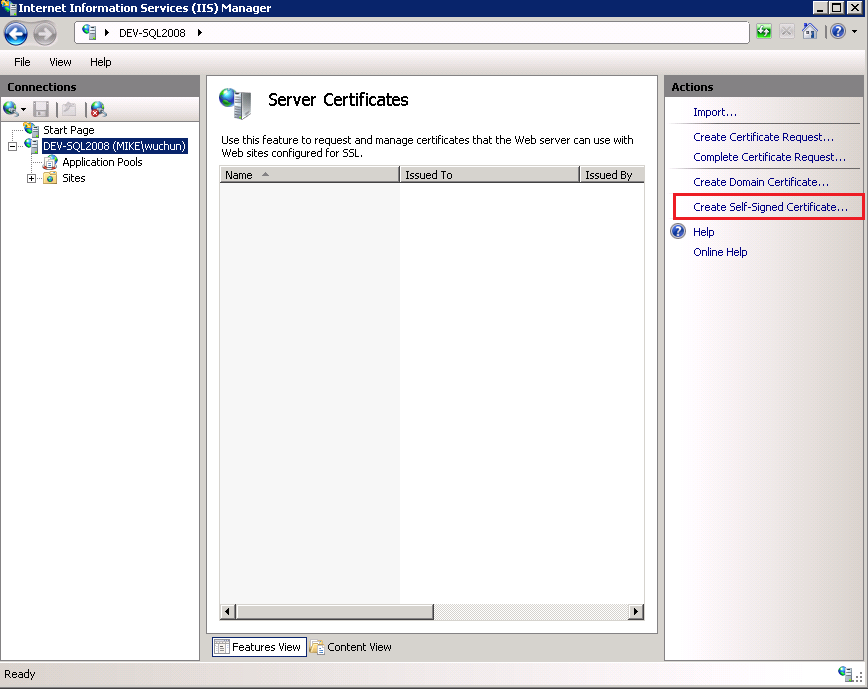
To create a self-signed Sha2 Certificate, we use a command-line tool called Certreq.exe. Certreq can be used to request certificates from a certification authority (CA), to retrieve a response to a previous request from a CA, to create a new request from a .inf file, to accept and install a response to a request, to construct a cross-certification or qualified subordination request from an existing CA certificate or request, and to sign a cross-certification or qualified subordination request. You can see the detail information in here.
There are three steps to accomplish this task.
- Create a .inf file
- Run Certreq command
- Import the certificate to Trusted Root Certification Authorities (optional)
Test Environment: Windows Server 2008 R2 Standard SP1
Create a .inf file
Create a new Text Document and change the extension to .inf. Open the file in Notepad. Copy the following text into Notepad.
[Version]
Signature="$Windows NT$

[NewRequest]
Subject = "CN=host.yourdomain.com"
Requesttype = Cert
KeyLength = 2048
FriendlyName = "Sha256 TLS"
Exportable = true
HashAlgorithm = sha256
MachineKeySet = true
KeySpec = 1
Line 6 Requesttype = Cert indicates a self-signed or self-issued certificate. It does not generate a request, but rather a new certificate and then installs the certificate.
Line 12 KeySpec = 1 determines the key can be used for Key Exchange (Required for encryption).
Save the file in C:\temp\RequestPolicy.inf.
Run Certreq Command
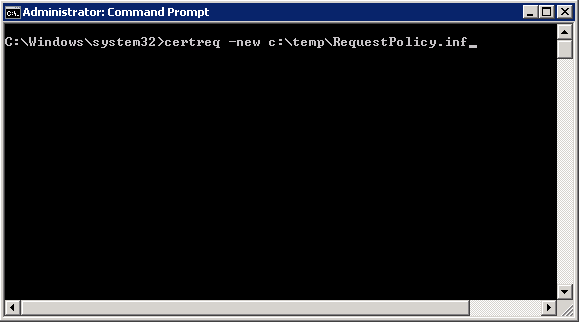
Run Command Prompt as administrator. Run the command “certreq -new c:\temp\RequestPolicy.inf“.
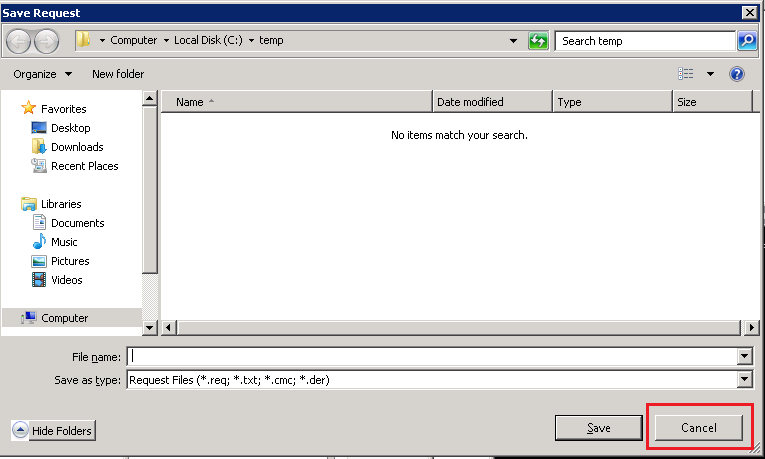
Click Cancel when you see the prompt.
Verify the certificate is installed in IIS manager -> Server Certificates.

Verify the Secure communication in SMTP Virtual Server Properties. You should see the same expiration date with your certificate.
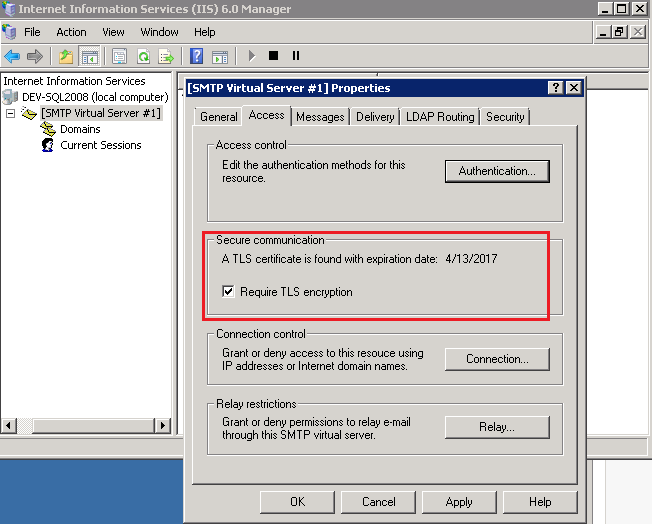
Congratulation! You have Sha2 self-signed certificate for SMTP encryption now.
Import the certificate to Trusted Root Certification Authorities
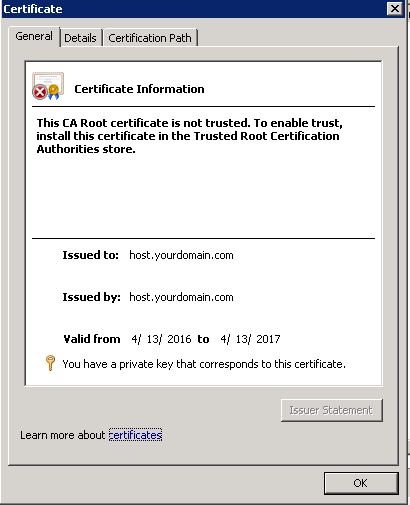
At this point, SMTP encryption should be working. However, if you take a look the certificate, you will notice the certificate is not trusted.
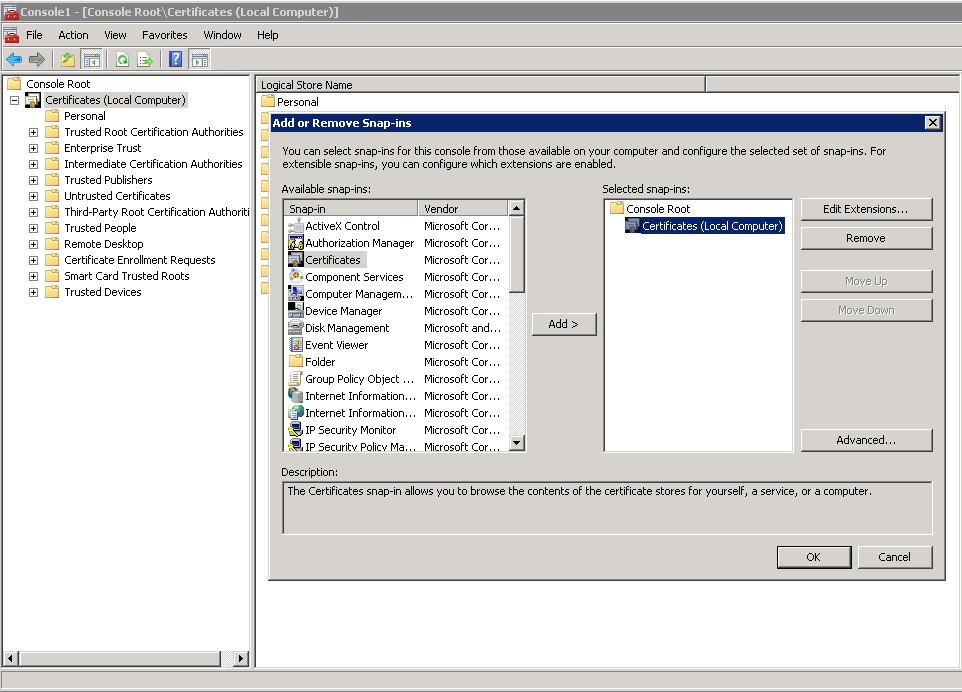
To install the certificate in the Trusted Root CA, I use Certificates snap-in in MMC console.
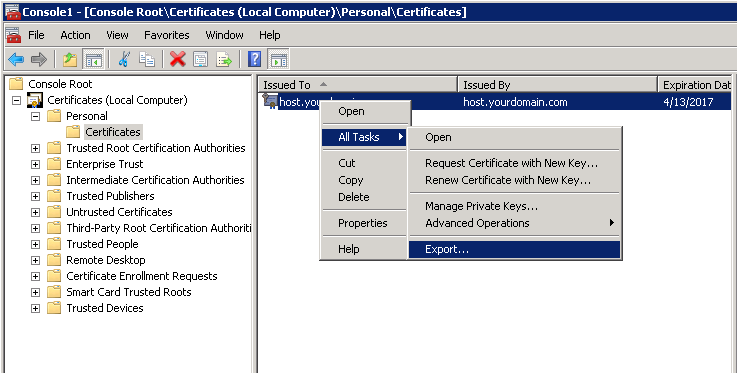
Export the certificate from Personal Certificates. Click next for all options and save as a .cer file.
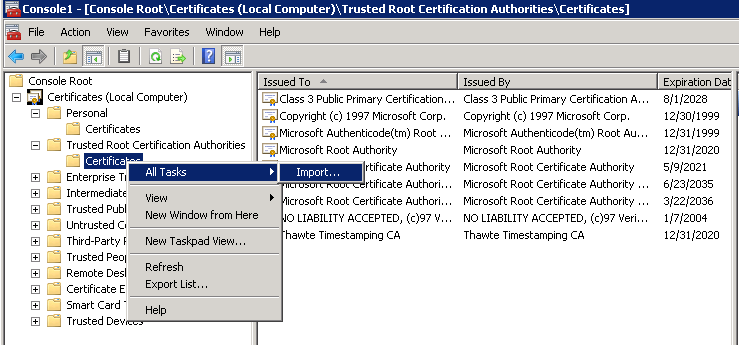
Import the .cer file to the Trusted Root Certification Authorities. Click next to finish.
You should see the certificate is trusted now.

More
You can add more keys or extensions as needed. For example, if I want to add a Custom Subject Alternative Name, I can add following extensions.
[Extensions]
; If your client operating system is Windows Server 2008, Windows Server 2008 R2, Windows Vista, or Windows 7
; SANs can be included in the Extensions section by using the following text format. Note 2.5.29.17 is the OID for a SAN extension.

2.5.29.17 = "{text}"
_continue_ = "dns=www01.fabrikam.com&"
_continue_ = "dn=CN=www01,OU=Web Servers,DC=fabrikam,DC=com&"
_continue_ = "url=http://www.fabrikam.com&"
_continue_ = "ipaddress=172.31.10.134&"
_continue_ = "[email protected]&"
_continue_ = "[email protected]&"
_continue_ = "guid=f7c3ac41-b8ce-4fb4-aa58-3d1dc0e36b39&"
However, it failed when I added the DNS Subject Alternative Name in Line 6. I don`t have a solution for this yet. Please leave a comment if you have one. 🙂